If you are interested in developing your watercolour technique and achieve quality results, then please read on!
The Task
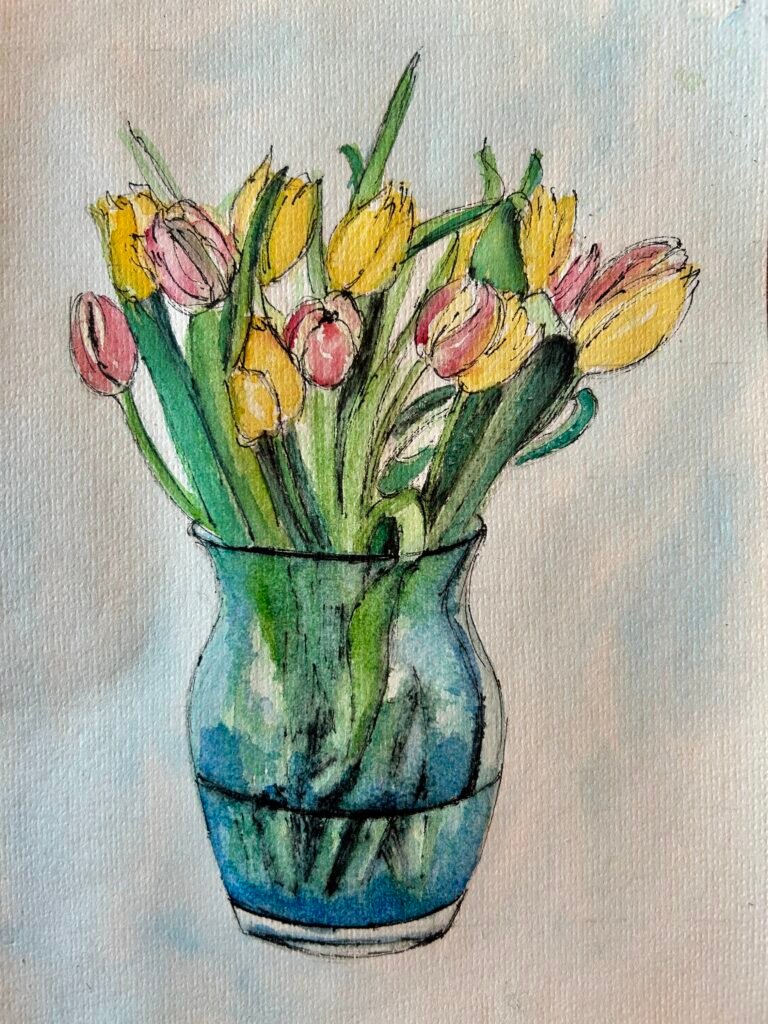
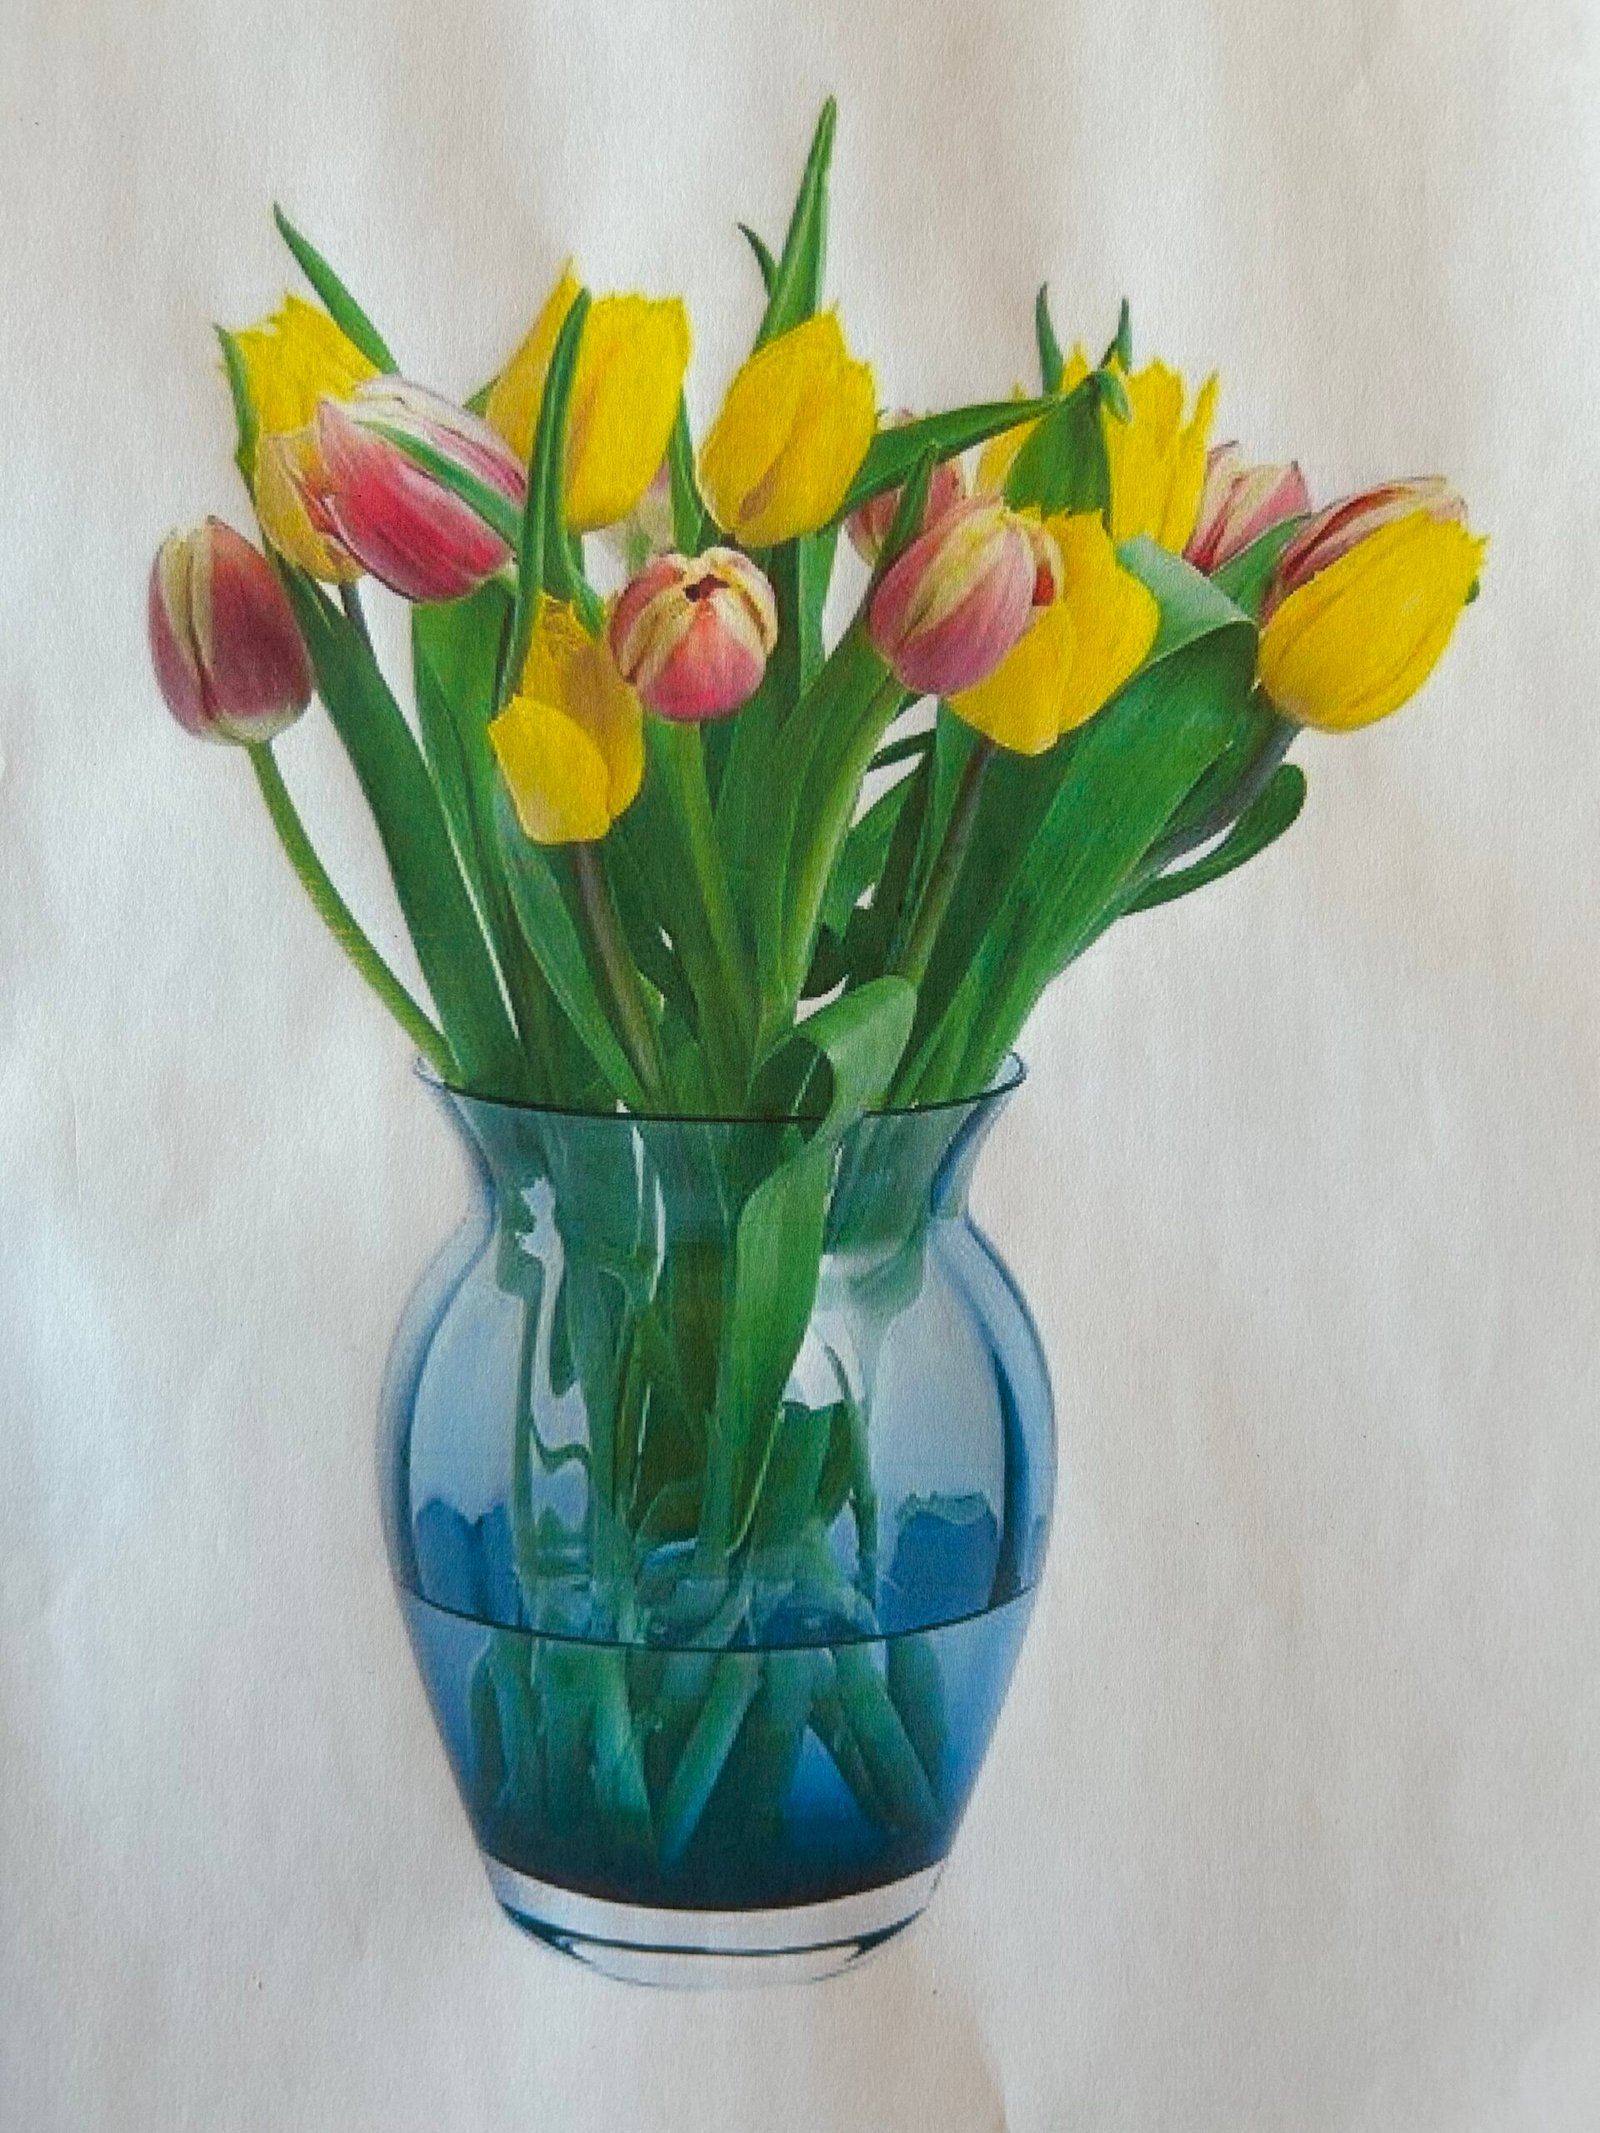
In this guide, I will offer guidance, step-by-step on how to create an expressive watercolour painting using simple drawing and painting techniques, as illustrated here.
In this painting, layered watercolour washes have been applied onto a pencil drawing and then a pen layer has been added over the top.
This is a relatively quick and easy process that can be achieved in under two hours, depending on experience levels.

Source Material
For this exercise, we will be painting the image illustrated here. You can download this image at the bottom of this guide.
For future painting practice, make sure that you select a good source image. The image needs to be:
- in good focus
- with no background
- has limited colours
- has limited flowers which are equally spaced out
Watercolour Paints
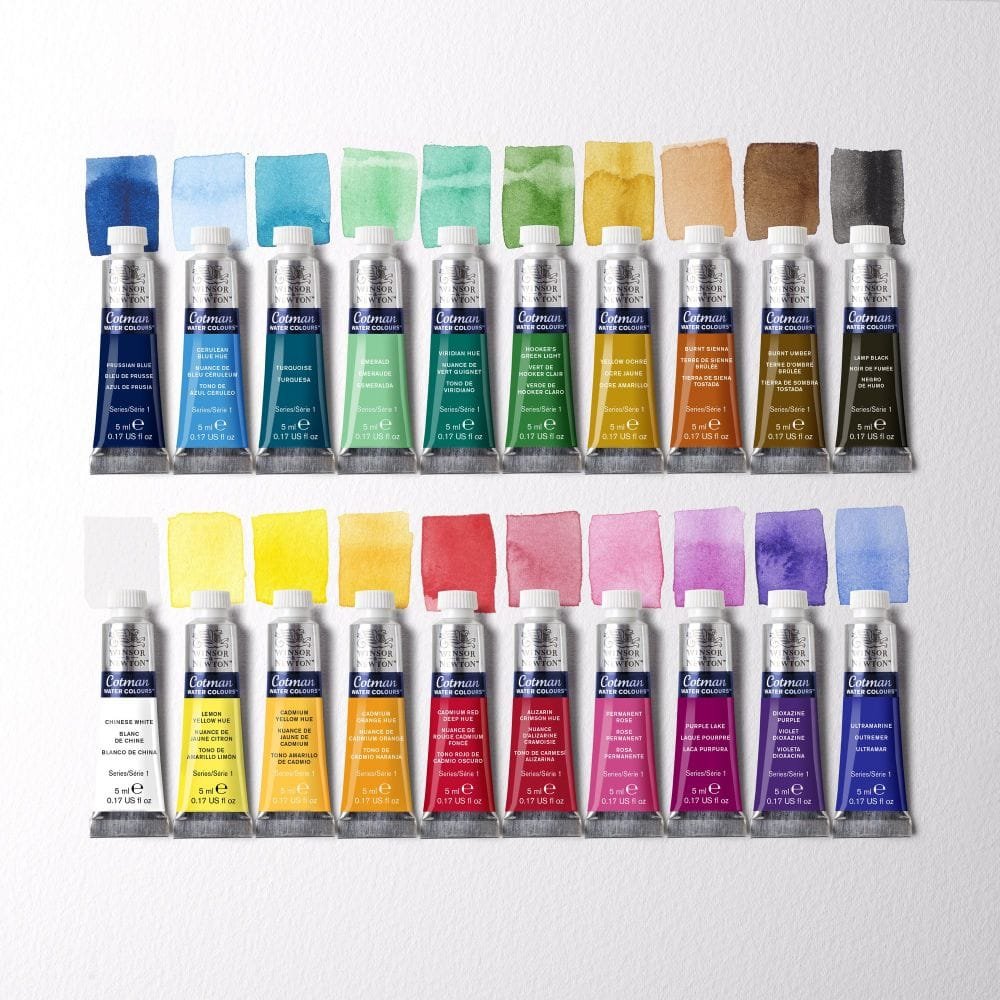
For this task, I have used Cotman Watercolour paints. They are produced by Winsor and Newton and are a good cost effective and reliable paint range. They can be found in most art shops as well as online.
For my painting, I used the tube paints, as illustrated. There is no difference in quality between the tubes or pan varieties of paint (the hard compressed powders). It is purely a preference to which type that you use. My preference is for the tube type as they are more economical and easier to use.
Equipment
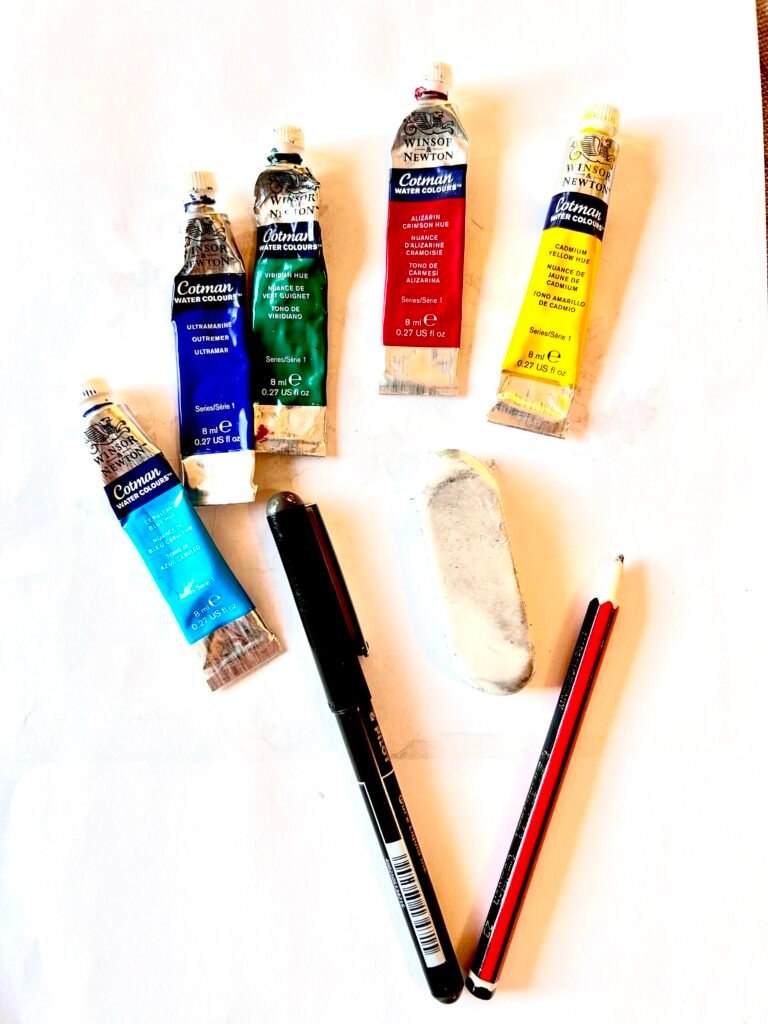
For this painting, you will require the following:
- An A4 sheet of watercolour paper. I recommend Winsor and Newton’s cold pressed 300gms available from most art suppliers.
- Cotman watercolours: Cerulean Blue Hue, Ultramarine, Viridian Hue, Alizarin Crimson Hue, Cadmium Yellow Hue
- A set of watercolour paintbrushes, or any soft brushes with a good water retention
- A drawing pencil, such as a 2B
- An erasure
- A black ink pen, such as Pilot’s Hi-Techpoint
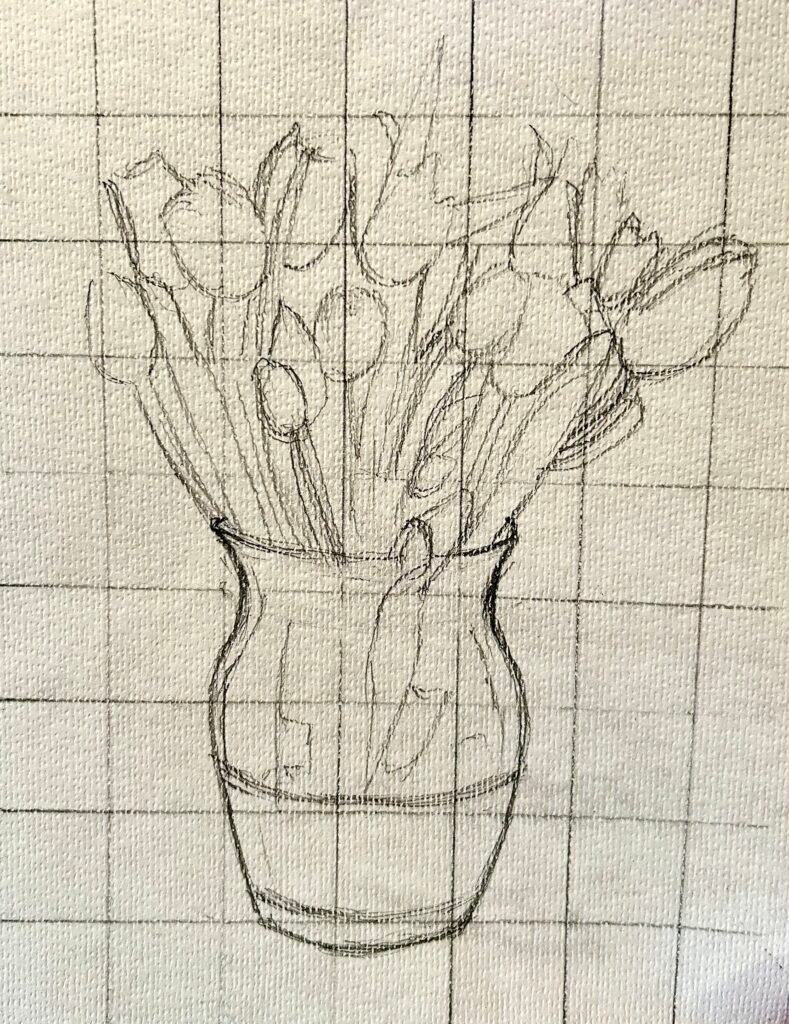
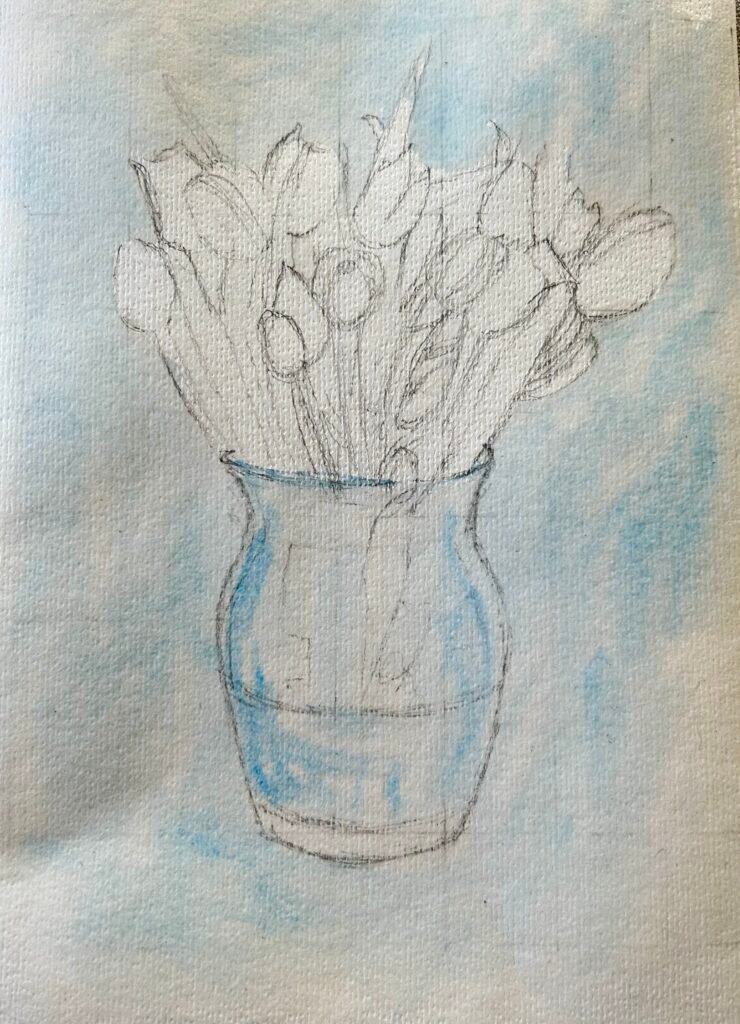
Stage 1
To begin, start by creating an accurate outline drawing of your image. However, this can sometimes appear to be a daunting task. So, to make things easier, draw a grid guide on your photograph and then replicate the same sized grid on your watercolour paper.
In this way, you can then focus on drawing what you see in one square at a time when copying the original image. It will help to break down the task and achieve more accuracy too.
Stage 2
Next, wet the background area and the vase with a paintbrush . Be careful not to over wet the paper or wet the areas where the flowers are.
Now that the paper is partially wet, you can drop in some diluted watercolour. I used diluted Cerulean Blue Hue and added it loosely to the wetted areas. The watercolour will naturally bleed out and spread into the wetted areas. This technique is known as wet-in-wet.
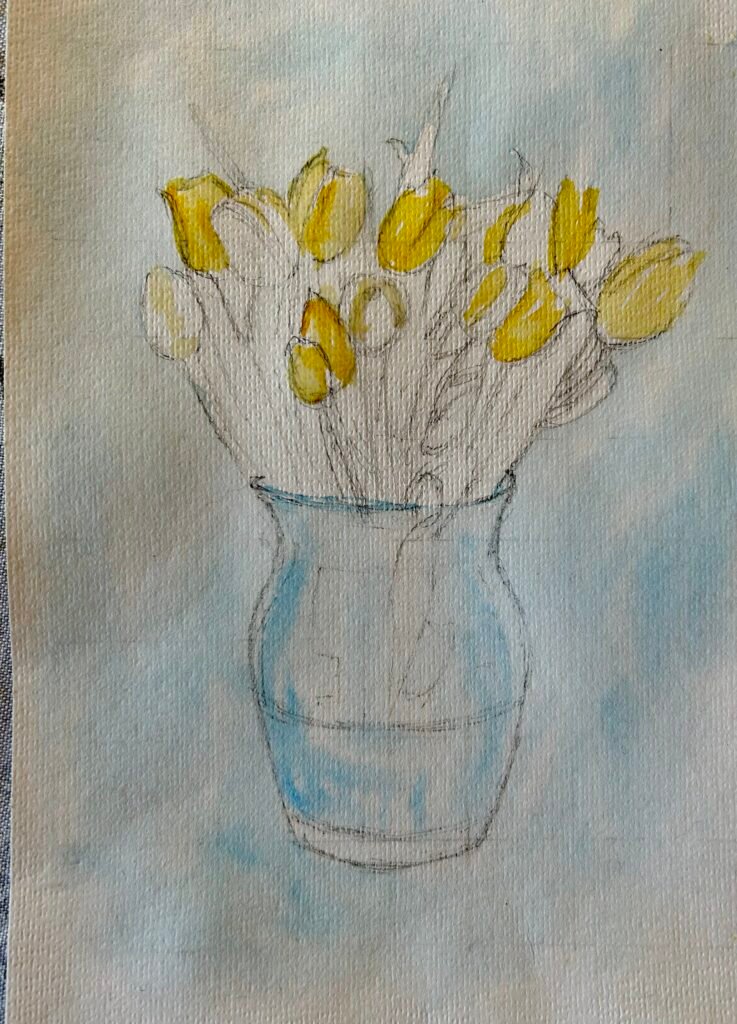
Stage 3
Once the blue washes are dry (you can use a hair dryer to speed this up), add water to the flower head areas. Be careful not to add water to the leaf areas as this will cause paint bleed.
Now, dilute some Cadmium Yellow Hue and add it to the previously wetted areas. The paint should bleed within the wet areas, but not spread into the dry surrounding areas.
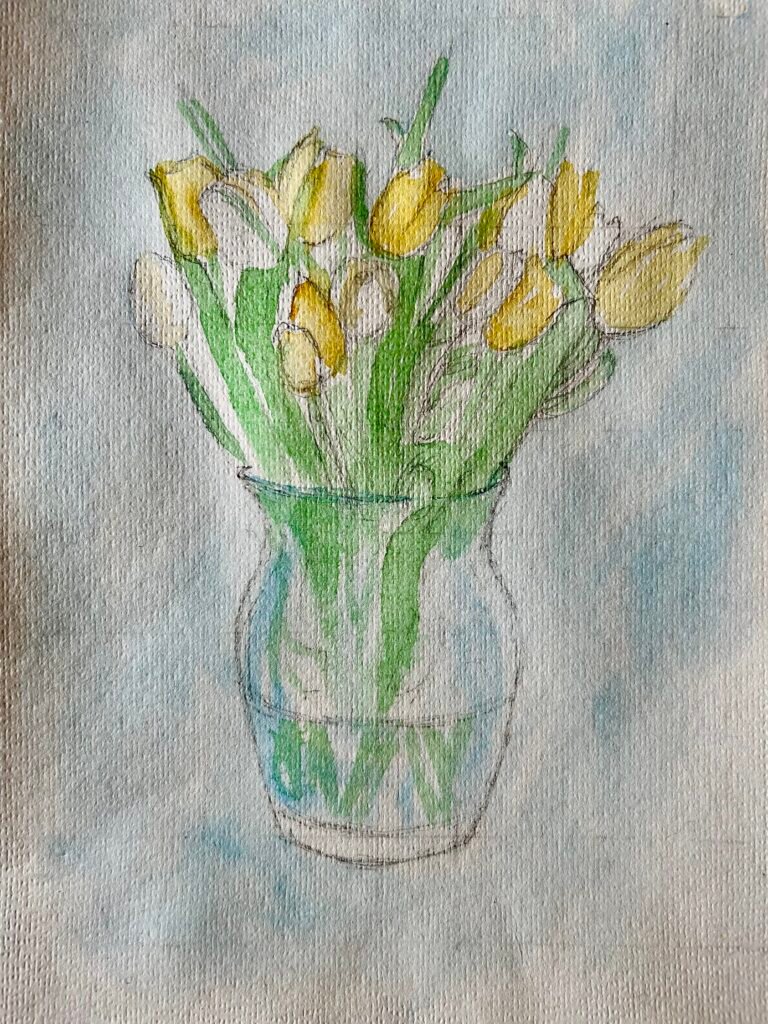
Stage 4
Now, you are ready to add the first layer of green to the leaf areas. For this, mix a little Viridian Hue with Cadmium Yellow Hue to form a leaf green colour. Dilute with water to make a wash and then add this to the leaf sections of the drawing. It will not be necessary to pre-soak the paper first.
Note, adding a second layer of the same wash will darken the tones.
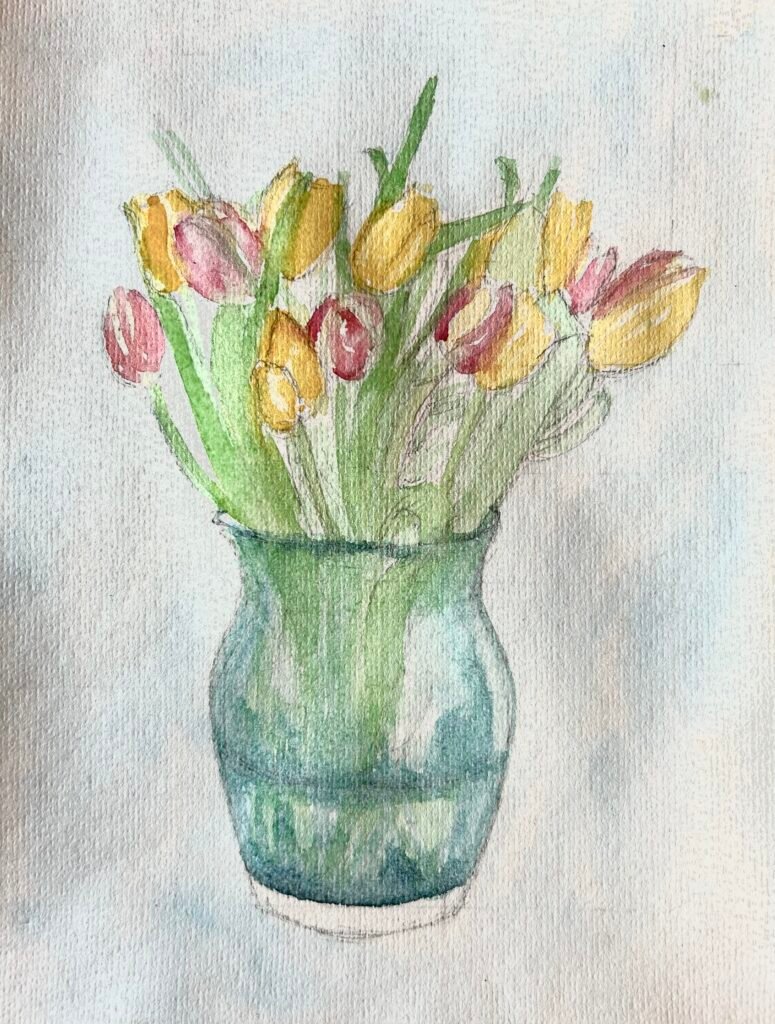
Stage 5
Next, add some water to the areas where red flowers are situated. Then, mix up a strong wash of Alizarin Crimson Hue. Add this to the pre-soaked areas of paper and allow it to bleed into the areas. Drop in more colour in order to develop stronger tones in places, where required.
In addition, start to build up tones on the vase by adding more layers of blue. To achieve this, mix some Cerulean Blue Hue with Ultramarine to add darker washes, where required.
Continue to add more layers to your painting to achieve darker tones, where required.

Stage 6
The final stage is to add a pen drawing to your work. This will add lively interest and definition.
To do this, use a black ink pen which is not permanent. This will allow you to dilute the pen drawing as required.
So, begin by adding a light pressured drawing to your dry work as an over-layer. Keep your lines thin, sketchy and loose. Lots of small light strokes rather than continuous lines. Shading can be achieved by light layers of hatched lines.
Lastly, add water on a paintbrush to areas where you would like your pen to bleed and form dark tonal areas. For example, in between the submerged stalks in the water, or the underneath areas of leaves.
I hope that you have enjoyed reading this guide and that you will have fun completing the exercises. You can download a PDF version of this guide plus the source photo below.
I would love to see the finished results, so please do tag #backburyhouseretreats in your social media posts.
If you would like to complete more painting tutorials, then please take a look at my workshops and courses at Backbury House Retreats.
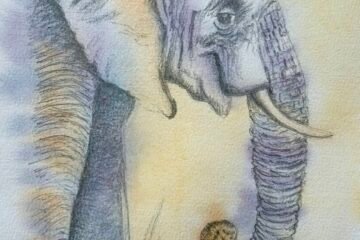
In addition, you may be interested in reading more of my know-how guides. Please take a look at my post on using the pen and wash technique.
Happy painting and enjoy!


1 Comment
How to create an expressive elephant painting using pencil and watercolour. · 16 February 2026 at 14:56
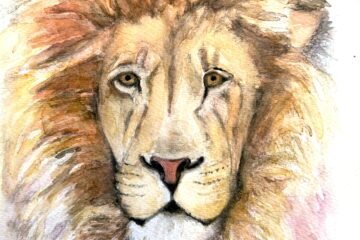
[…] How to paint an expressive lion in watercolour Step-by-Step Guide to Watercolour Painting […]