
Inspiration
The beauty of the etching process is multifaceted. Firstly, the technique enables an artist to extend their ideas into a different direction. In addition, the process is experimental ensuring that a creative approach is achieved.
However, the etching process is little understood. In this How-To Post, the process will be explained to hopefully demystify the process and also offer some inspiration.
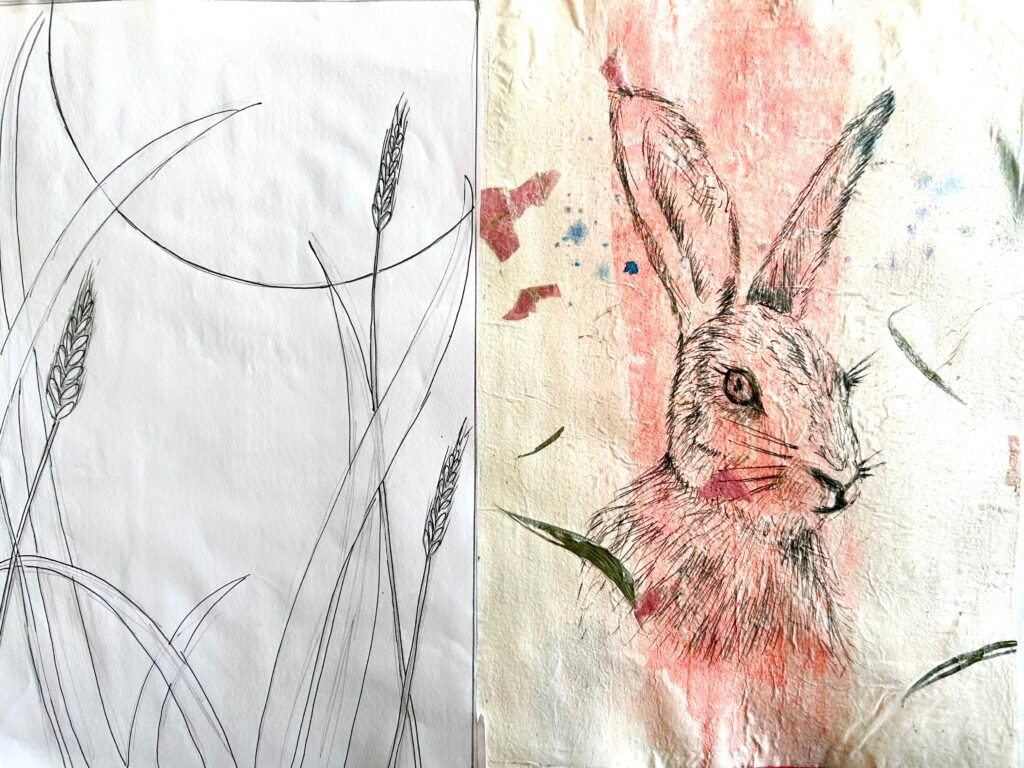
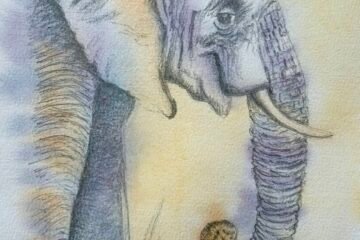
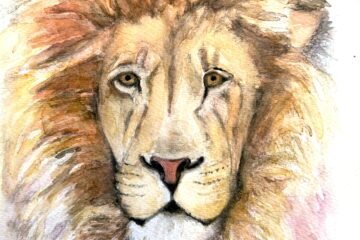
The illustrated watercolour painting of a hare will provide the source for the etching process described within this post.
Developing a design
The etching technique starts by creating etched linear marks in to a surface which is suitable for print. Therefore, it is necessary to produce a design with a linear quality.
In the images illustrated here, you can see that a linear drawing of the hare has been developed from the watercolour study. In addition, you can also see that a background design has been developed incorporating a moon and a wheat field image.
The hare image is in reverse to the painting as the printing process creates a reversed image.
How to create an etching plate
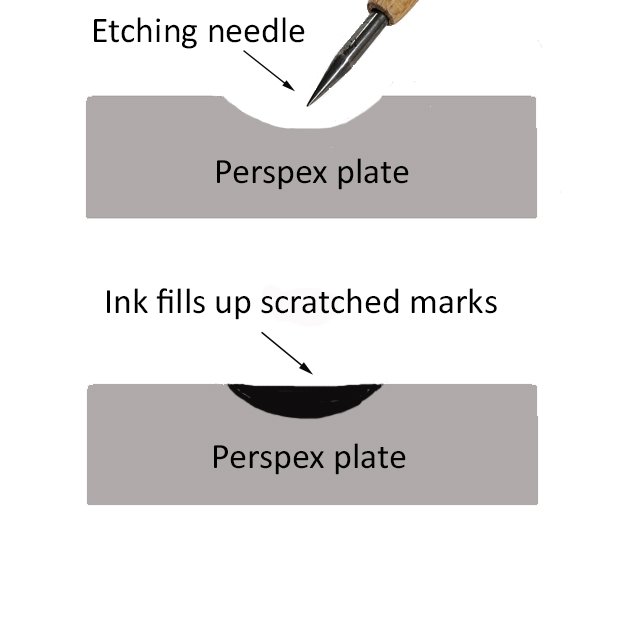
Etching involves inscribing a design in to a solid surface (the plate) to create an indented image. The indents can then be filled with ink for print.
In the drypoint etching process, an etching needle is used to scratch directly into a plastic sheet, as illustrated.
The Printing Process
Once the design has been fully etched into the plastic plate, it is then time to apply ink (as illustrated).
Specialist printing ink is required in order to ensure that any scratched marks are printed successfully. The specialist ink consistency also ensures that it does not dry too quickly or clog the etching plate.
Traditionally, etching ink is oil based. A modern alternative is Cranfield’s Caligo Safe Wash. This ink has all of the valuable qualities of oil based etching ink. Plus, it has the benefits of being able to be washed off with just soap and water.
A muslin rag is used to apply the etching ink onto the plate and work it in to the etched surface. A clean rag is then used to wipe off the ink from the areas without etched marks.
Developing the etching print
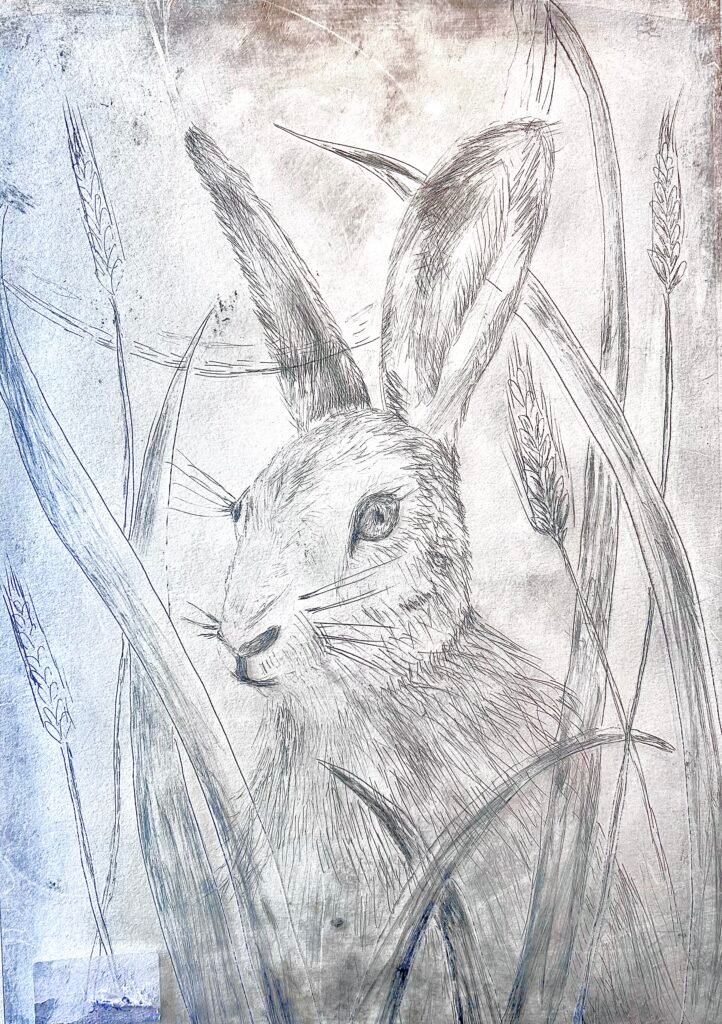
Of course, it is possible to create a one colour print on to a plain background. However, the beauty of the etching process is that vibrant backgrounds can also be created.
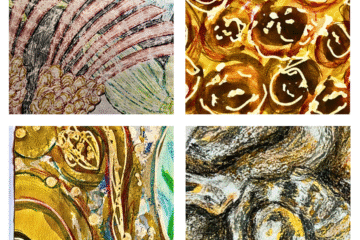
In the illustrated example, Colourcraft Brusho Colours have been spayed onto paper to create a lively background for the print.
In addition, two layers of paper have been used. The background paper where Brusho colours have been applied is Fabriano Printmaking Paper. The second, where the etching print has been created is Japanese Mulberry Paper. The Japanese paper creates flecked textures to enhance the print.
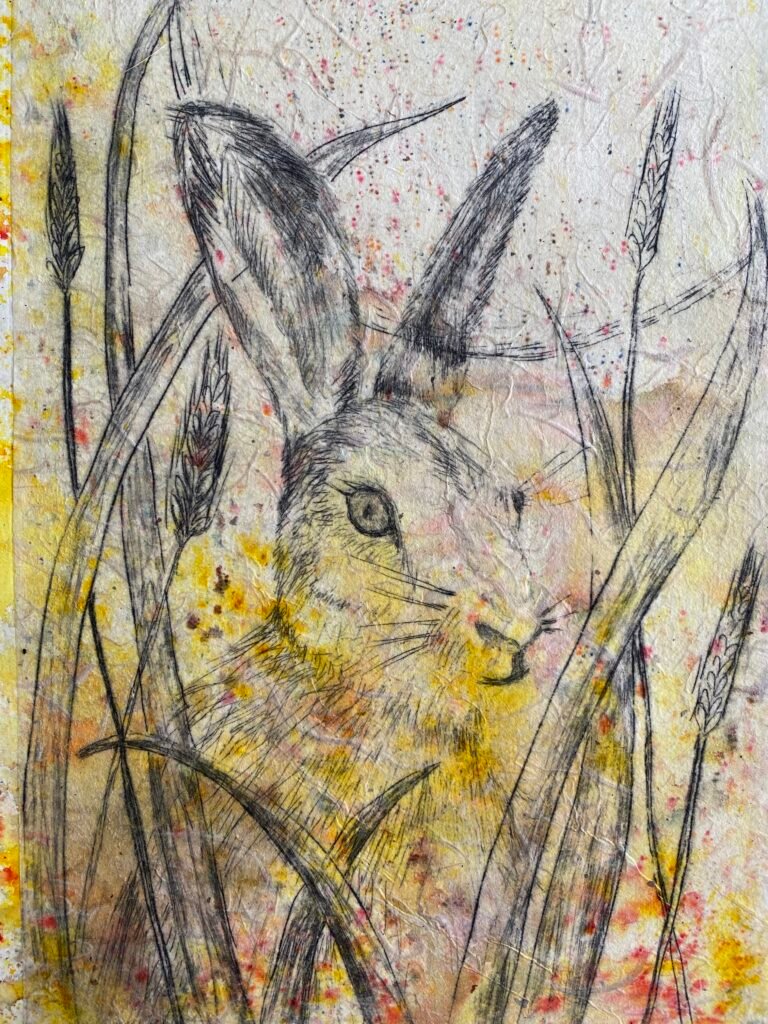
I hope that you like the resulting etching print and have enjoyed reading about how it was created. If you would like to read more about the technique of drypoint etching, please download my free guide below.
In addition, if you would like to view the full range of my etching prints, please visit my online shop.
Lastly, if you are inspired to have a go at the etching process yourself, but require a little more direction, why not join me for my printmaking course. Full details can be found on my website Art Courses page.
Happy printmaking!

Sharon Brookes, Proprietor
0 Comments