
Being Inspired to paint
In searching for images to paint in watercolour, I came across this beautiful photo. The image is of a sailboat that can be hired on getmyboat.com
I chose this image as I was struck by the beautiful blue hues and light rays hitting the water.
In this know-how post, I will guide you through, step by step in how I completed a watercolour painting inspired by this image.
Watercolour Equipment
For this painting, you will need the following art supplies:
- Watercolour paper. I used Winsor and Newton cold pressed 300g)
- A set of watercolour brushes. I used Winsor and Newton Foundation Brushes
- Watercolour paints. I used Winsor and Newton Cotman range. The specific colours used were: Cerulean Blue Hue, Prussian Blue, Ultramarine, Alizarin Crimson Hue, Chinese White.
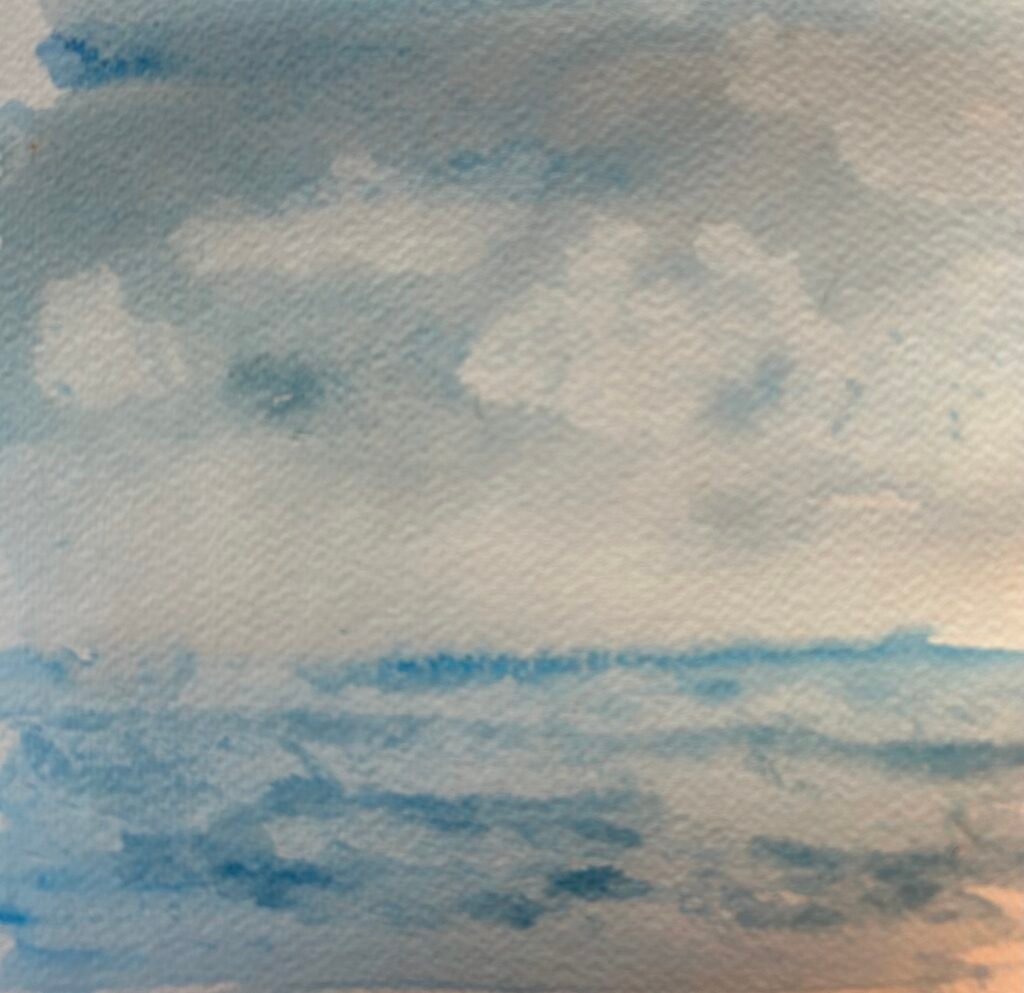
Stage 1: Wet-in-wet watercolour technique
- Begin by lightly wetting the paper by using a big brush, such as a mop or the biggest you have.
- Then, make a wash of the lightest blue (Cerulean Blue Hue). Add dabs of the blue onto the wet paper. Leave the horizon area less blue. Be also sure to leave areas of white paper remaining amongst the blue dabs.
- Lastly, using a scrunched up paper towel, lift out areas in the sky for clouds.
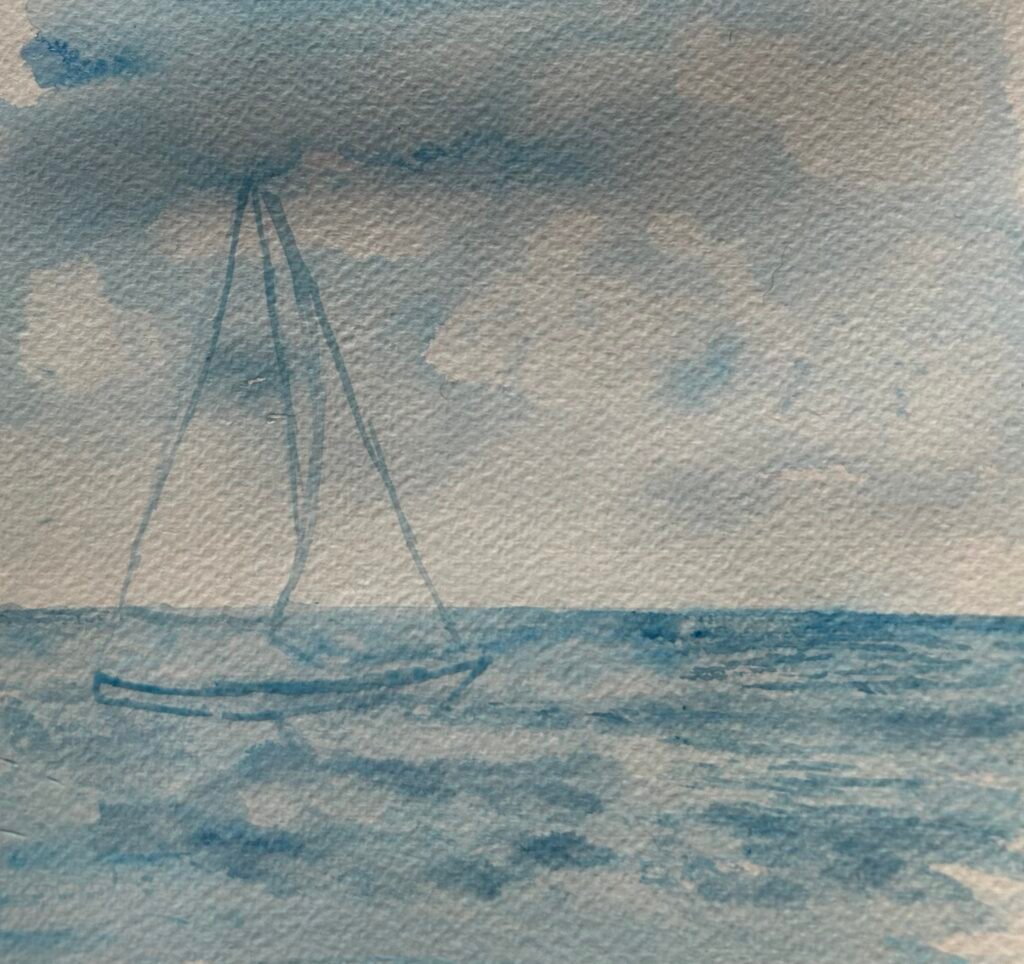
Stage 2: Drawing with watercolour
- Mix up a slightly less dilute wash of Cerulean Blue Hue.
- Using a small brush, draw in an outline of the boat using delicate lines with less pressure on the brush. N.B. pushing down and applying more pressure when using a paintbrush will result in thick heavy lines.
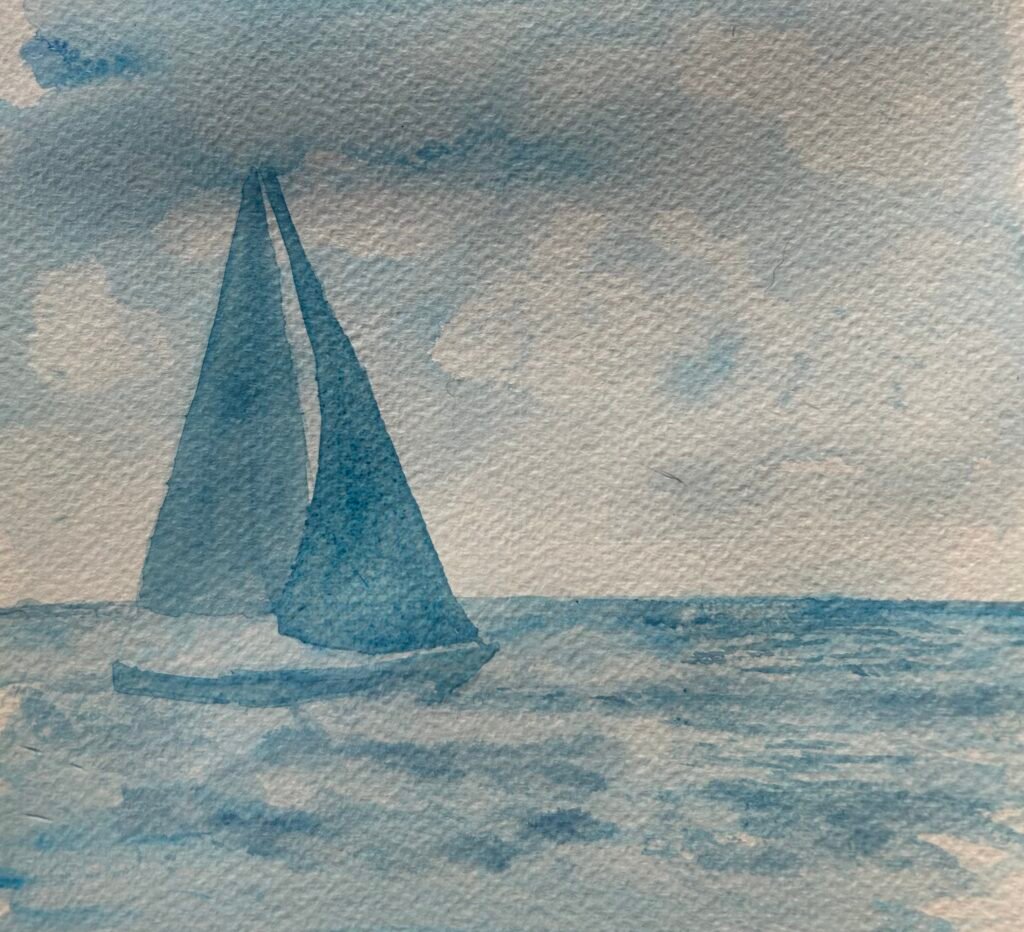
Stage 3: Blocking in
- Dilute your paint a little more and then block in the sails and boat areas. Apply the paint evenly by sweeping your brush across the area. N.B. too much pigment in your wash will result in visible brush strokes and uneven colour.

Stage 4: Adding darker tones
- Now that you have painted in all of the main areas, it is time to build up the layers and tones.
- Begin by mixing up a wash of ultramarine.
- Study the source image to look for where the mid-tonal areas are and then mimic these on your painting using the ultramarine colour.
- Be sure to soften the edges of your painted areas with water to avoid hard edges. N.B. hard edges are only used for solid surfaces.
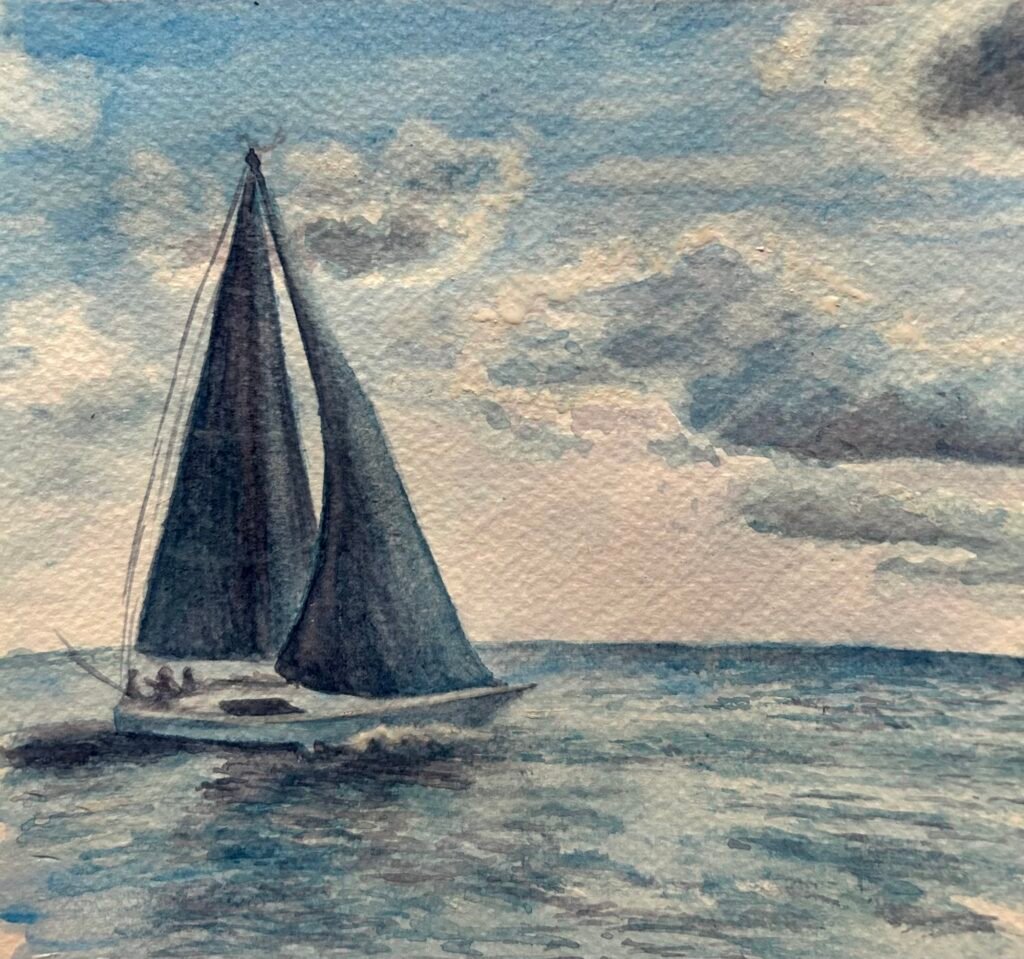
Stage 5: Applying shadows
- In order to create depth in your piece, you will need to add shadow areas.
- To add shadow colours, mix a little Prussian Blue with Alizarin Crimson Hue. Be sure to add enough water to achieve a sutble wash. N.B. If not enough water is added to washes, the paint will appear flat in the painting.
- Apply the shadow areas to the clouds, (darker at the bottom), around the boat (leaving white areas for the crest of the wave) and on the sails (darker areas to one side and blended out to light). N.B. look carefully at where the shadows are in the source image and only add small amounts accordingly. It is easy to over do shadows areas and then dominate the painting.
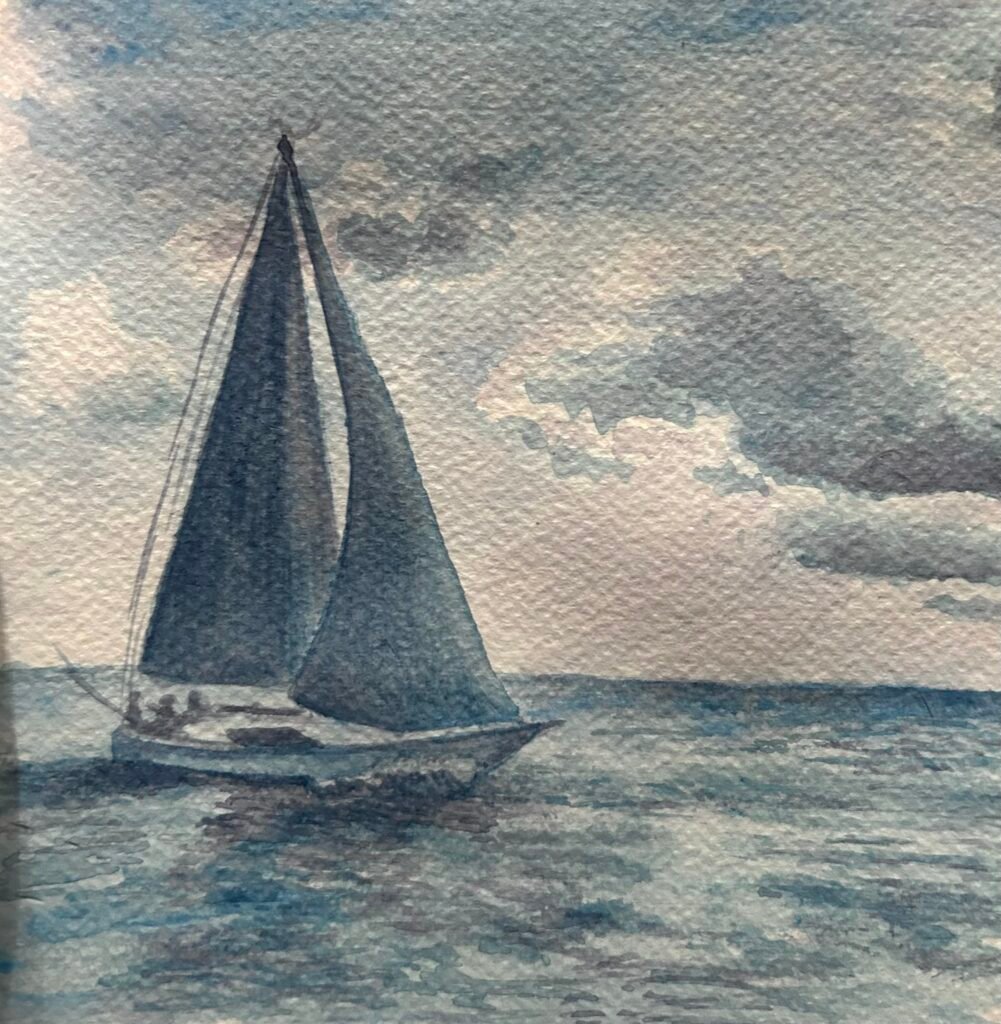
Stage 6: The final details
- Now is time to review your work, make improvements and add finer details.
- When reviewing your work, check for areas where the paint may need softening with water, or maybe lifting out a little with paper towel. Take your time with this stage and make subtle changes as required.
- Next, apply more layers of darker tone where required, blending them with the surrounding colour. I found that I needed to add at least three layers of darker washes to the sails and shadows. N.B. always apply thin layers of washes rather than thick paint. Watercolour requires thin layers to retain its translucent qualities.
- Next, using a damp paper towel, lift off the paint in diagonal strokes to achieve the rays of light seen in the sky.
- Finally, when the paint has dried, apply little touches of diluted Chinese White to areas where highlights are required, such as in the sky.
I hope that you have enjoyed following this Know-how post and have achieved a successful painting. I would love to see your finished pieces, so please do tag @Backbury House Retreats in on your social posts, or email images to sbrookes@bhretreats.co.uk
Happy painting!

Sharon Brookes
Lead Tutor and Proprietor of Backbury House Retreats
Backbury House Retreats offers award-winning art courses delivered from professional studios within idyllic countryside in Herefordshire. Visit www.bhretreats.co.uk for further details.


0 Comments