Learn how to paint an expressive lion image in watercolour in this step-by-step guide. It’s easy when you know how!
What you will need to use for the lion watercolour painting
- A4 Watercolour paper. I used Winsor & Newton 300g cold pressed.
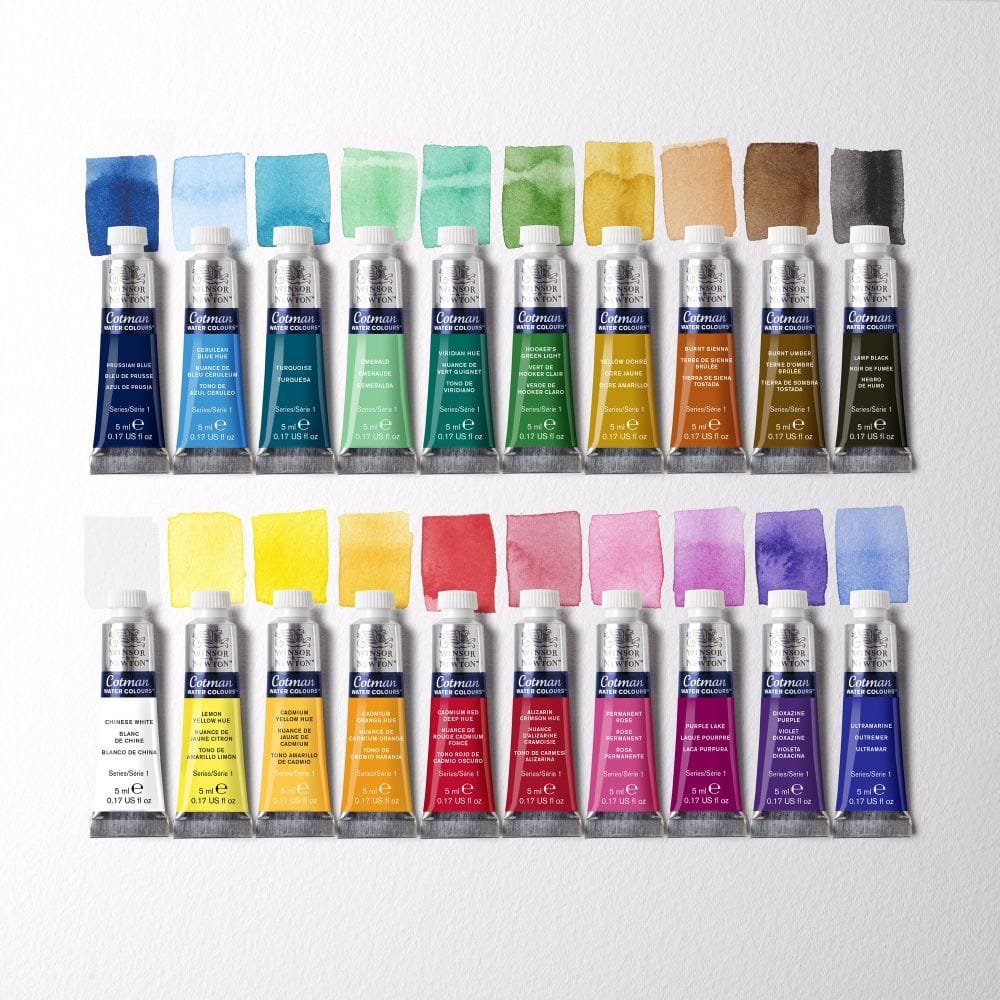
- Watercolour paints. As illustrated, I recommend Winsor & Newton Cotman range.
- Watercolour paintbrushes. In watercolour painting, you need to use brushes that are soft and retain water well. A good starter set are Winsor & Newton Foundation Set.
- A photograph of a lion printed out on to A4 paper.
Please note that the hyperlinks are for reference only. Please shop around to find the best prices available.
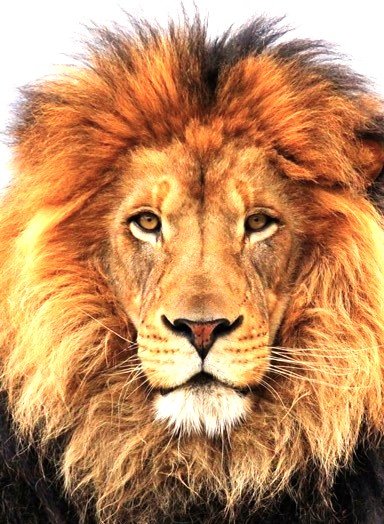
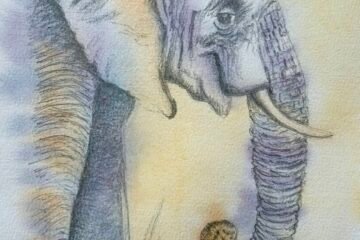
The lion reference image
For this watercolour painting, I found this lovely image of a lion on pixabay.com. I would also recommend Unsplash.com for suitable lion images to use.
Pixabay and Unsplash offer a great resource for artists as they provide free downloadable images which are also royalty free.

How to complete an accurate drawing of the lion
It can feel a little overwhelming when first attempting to draw an animal portrait. Most people worry about achieving accurate proportions.
An easy way to achieve accuracy is to grid up your page. To do this, draw equal sized boxes (a grid) onto your watercolour paper. Make sure that you keep your pencil lines light as you will need to rub these out later.
Next, grid up your photograph of the lion in the exact same way that you have gridded up your paper. N.B. it is important that the squares are in the exact same place as on your paper.
Once you have gridded up your photo and page, it is now possible to draw the lion more easily. Simply focus on one box at a time and draw accurately what you see.

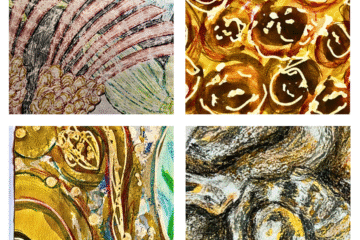
Stage 1 of the lion watercolour
In watercolour painting, you often start with creating layers of underpainting. As watercolour is translucent, these layers will show through in the final painting.
I started by mixing a purple colour, which is the complementary colour of yellow. Complementary colours make great shadow colours.
To mix the purple, combine Alizarin Crimson Hue with a touch of Cerulean Blue Hue. Add water to make a wash. Apply the purple wash onto your paper in any areas that have shadow in the photo.
When dry, add a first layer of diluted Raw Umber in the areas where there are dark shadows.

Stage 2 of applying watercolour
Now it is time to start to build up your colours and achieve some mid-tones and depth.
Mix up a wash of Yellow Ochre and apply this in the areas where you observe mid tone. Don’t be afraid to go over your previous layers as this will add depth.

Stage 3 of the lion watercolour painting
Next, it is time to add more contrasts.
To start, dilute a little Alizarin Crimson with a little Yellow Ochre to form a red-orange. Apply this wash to the areas where reds are observed within the fur. Some of this colour can also be used for the nose.
Next, mix up a shadow colour from a little Ivory Black and Burnt Umber. Apply this wash in the areas where there are the strongest shadows.
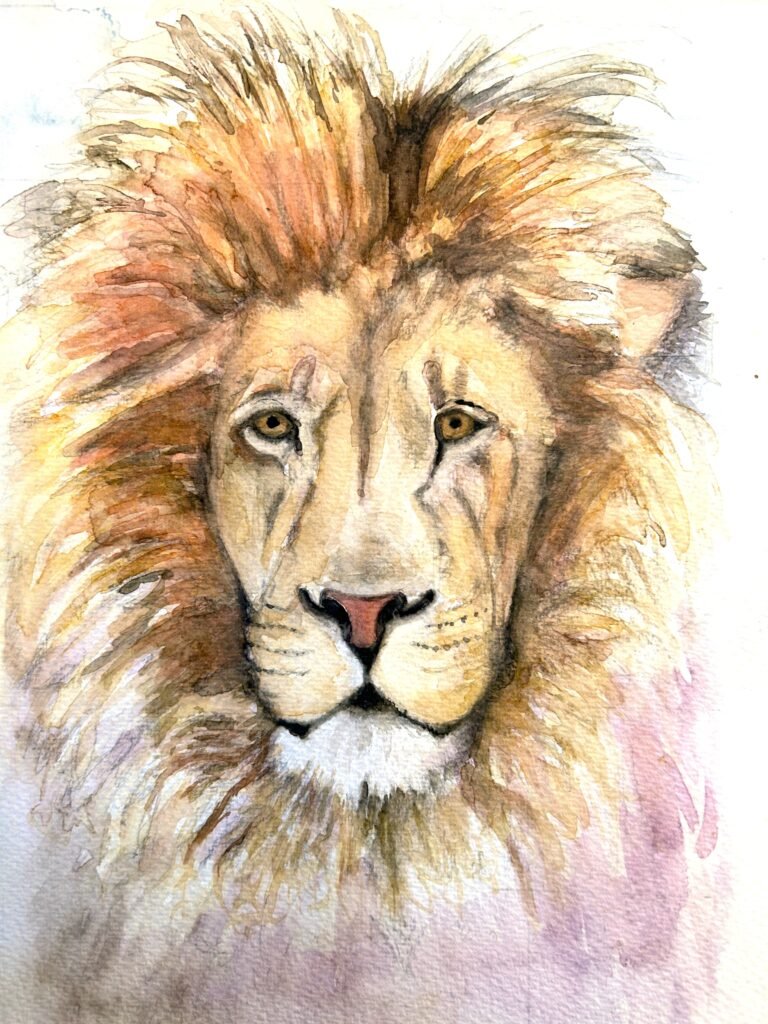
Final Stages of the painting
Now its time to add the final touches.
You may find that you need to build up more layers to create depth. This should always be done using thin layers rather than with strong colour.
Keep looking at the source photo to capture the correct colours and depth.
I hope that you have enjoyed completing this painting and have found this know-how post informative.
I would love to see the final painting, so please do tag Backbury House Retreats into your social media posts and let others know where you found this post too.
You may also feel inspired to try more of my know-how posts. If so, please do visit my website bhretreats.co.uk
You may also enjoy looking at my in person courses. I have added a link to my art courses below, for your convenience.
Happy painting and I hope to see you soon.


0 Comments